🏁 Getting Started
It is highly recommended that you know some basic principles about discord bots & node.js before working with Open Ticket!
This documentation won't explain how to create your bot or how to write javascript, but we will provide some basic info about hosting this bot on different platforms.
Installation
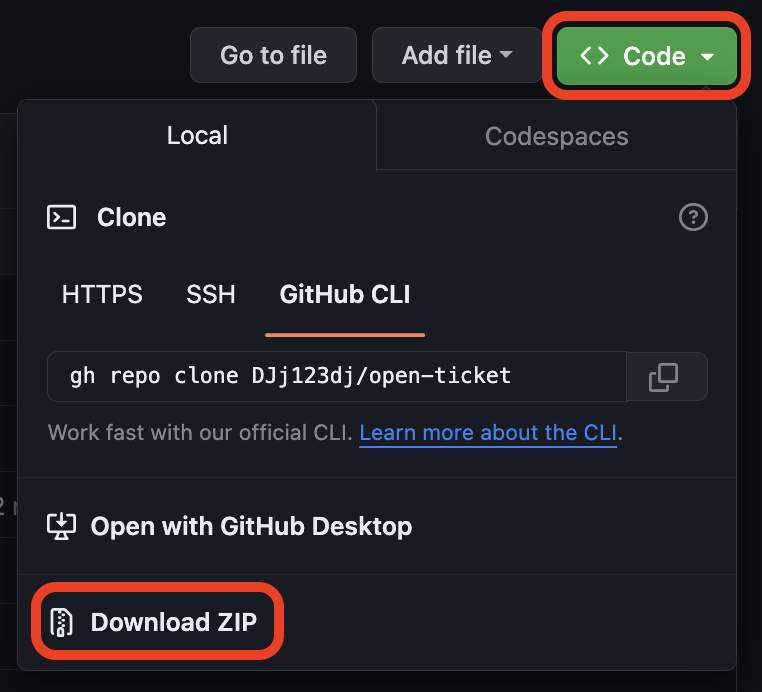
You can install Open Ticket from github by cloning or downloading it as a ZIP file. We recommend downloading it from the official repository, because other versions may be modified! When downloading as a ZIP file, you need to extract it ofcourse!
Npm Packages
Open Ticket needs some npm packages to work! You can install them all at once with npm install
If you prefer to do it manually, you can use:
npm install discord.js axios chalk
Engine
To run Open Ticket, you can use node.js, deno or bun. If you are a beginner, it's recommended to use node.js!
You can install them here:
Be aware that Bun & Deno are not officially supported by Open Ticket. Use them at your own risk!
Bot Setup
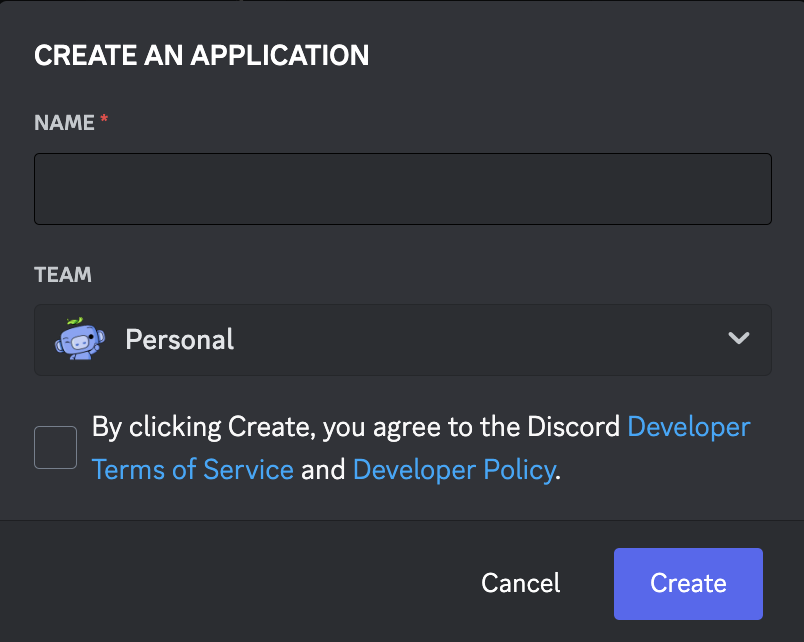
creation
Before you can use Open Ticket, you need to create a discord bot! You can create one at the discord developer portal. Open Ticket also needs some permissions & intents to function properly. These need to be configured in the discord developer portal!
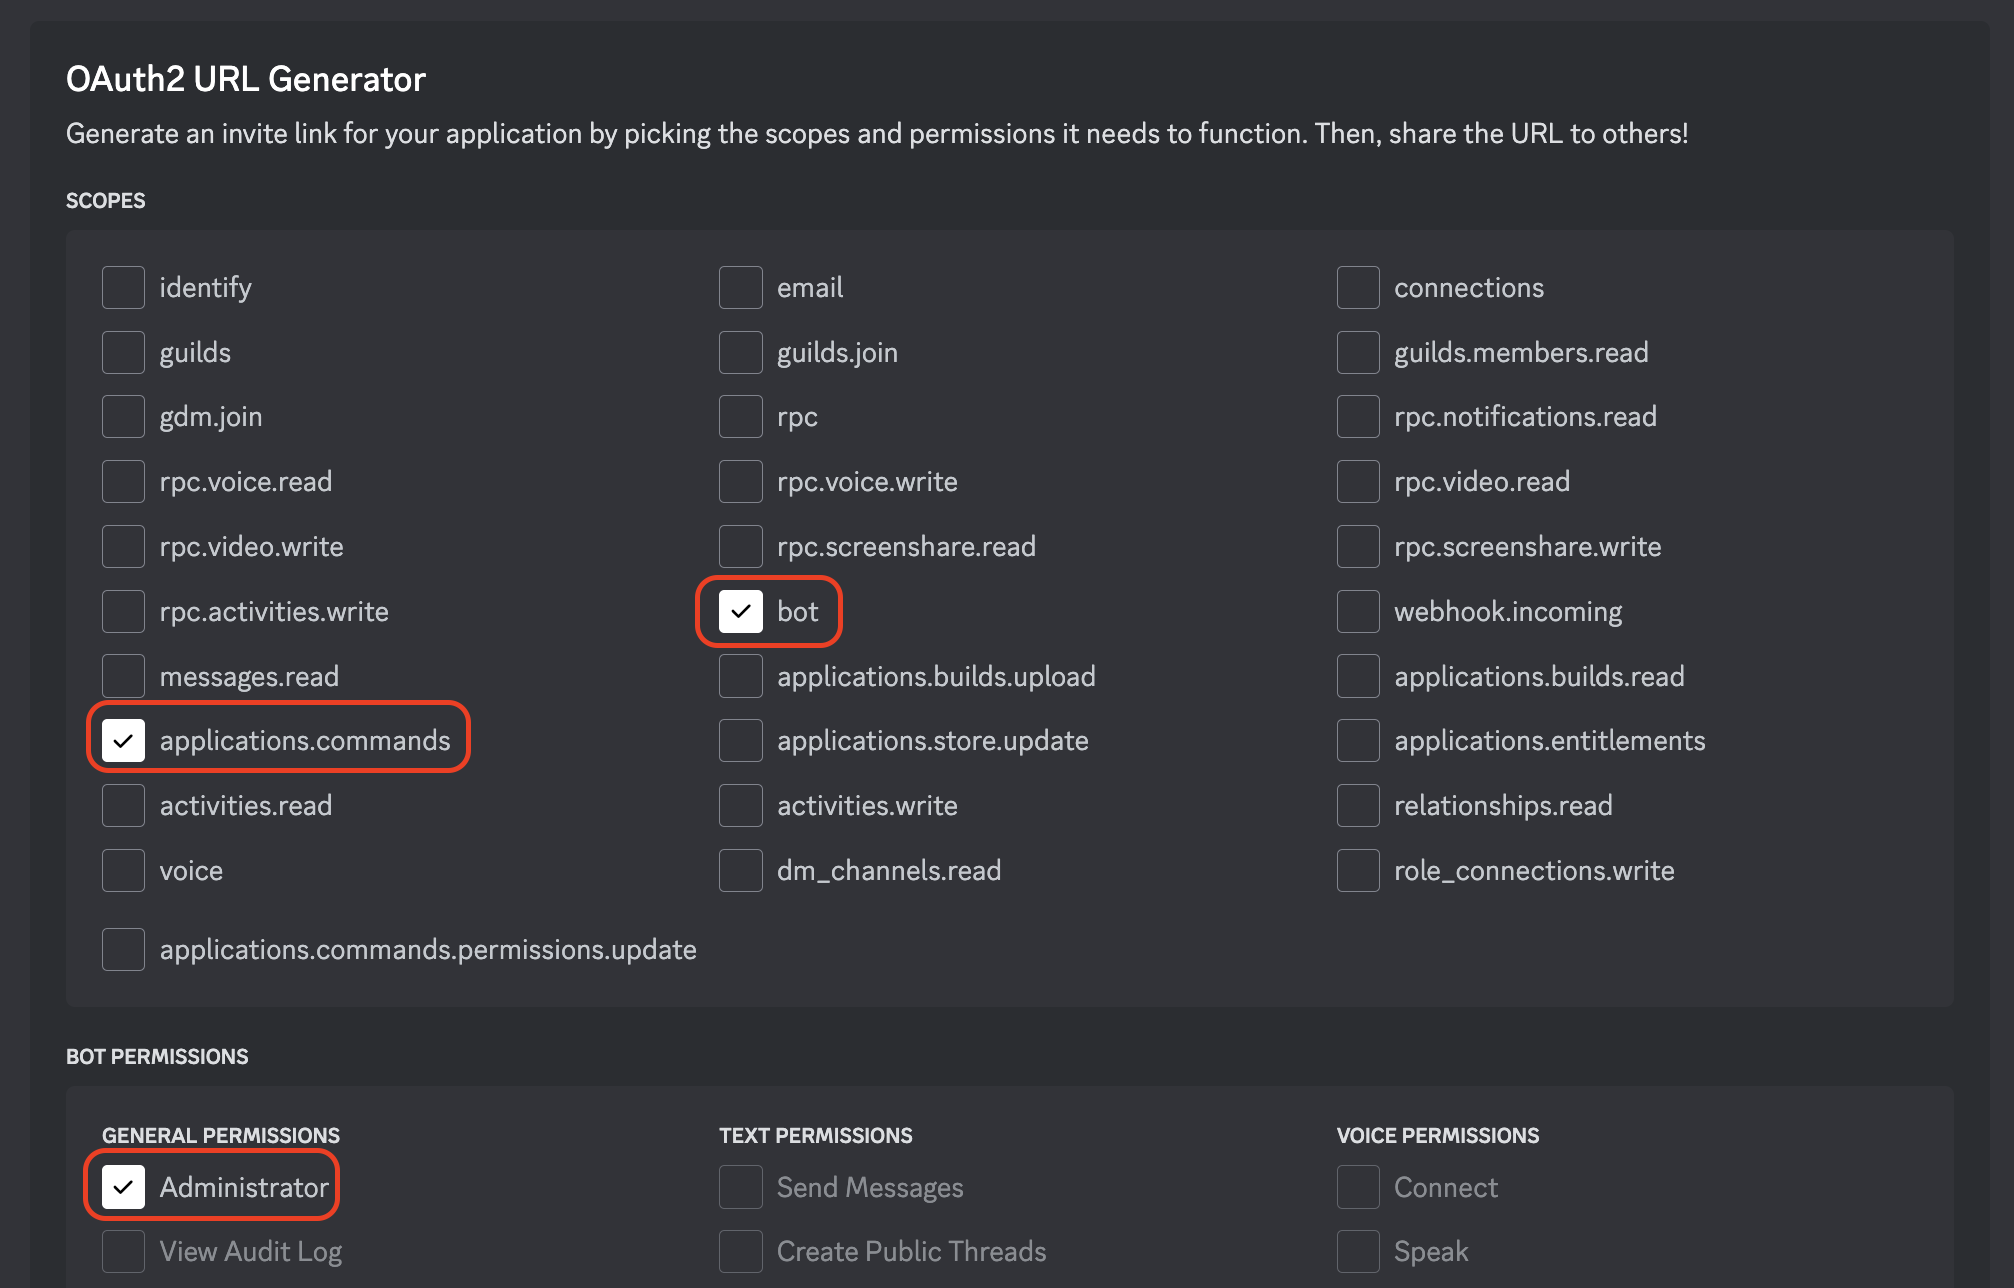
permissions
When inviting your bot to a discord server, we recommend giving your bot the ADMINISTRATOR permission!
It is also possible to define your own permissions, but it can affect the bot's ability to do some things.
More info can be found here:
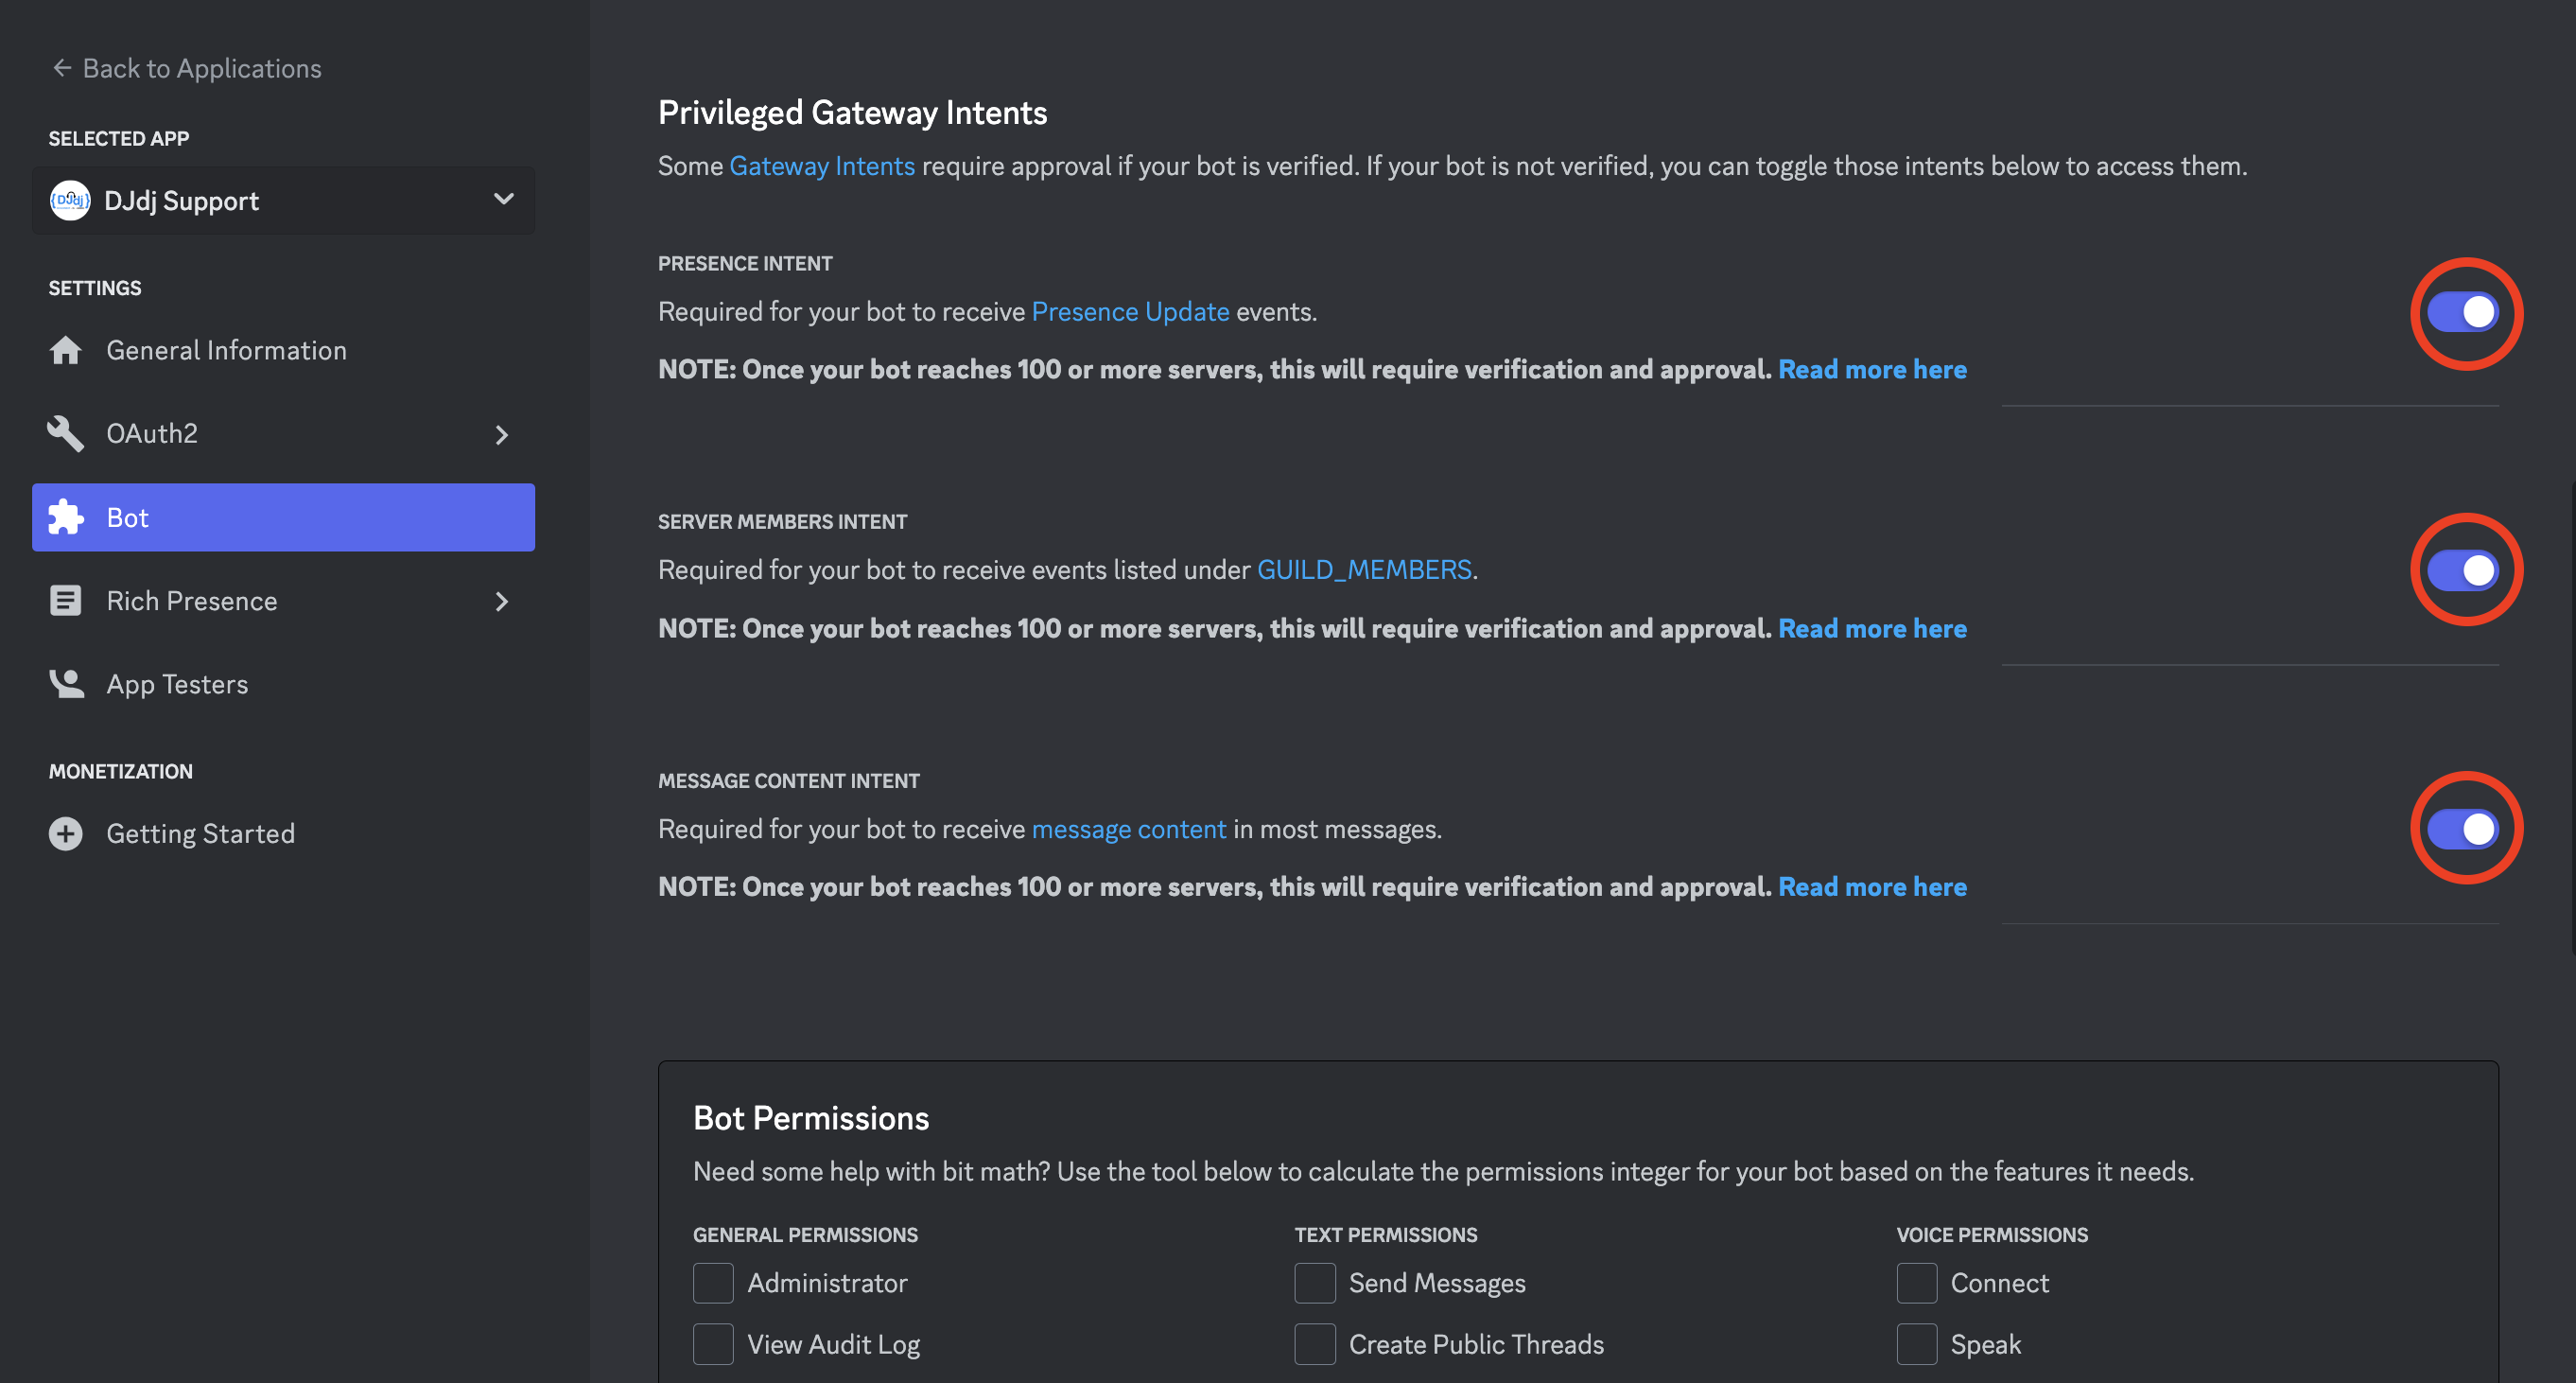
intents
Every discord bot also needs some Privileged Gateaway Intents.
These intents give the bot some extra permissions that are required for some features!
The Message Content Intent allows the bot to read text messages in the server.
If you don't enable this, transcripts & text commands won't work!
Configuration
Open Ticket has 2 config files! config.json and transcriptconfig.json! The transcript config is not that important for now, but can later be used to configure HTML transcripts.
However, the main config is very important! We will focus on the most important parts from config.json for now!
If you need a more detailed explanation about all the config variables, visit this page:
Main Settings
These are the main settings or the most important ones. You can find them at the top of your config.json file.
They include the main color for embeds, the server ID, the bot token & more!
In the code block below, you can find some notes about what every variable does!
"color":"#f8ba00", //the main embed color
"serverId":"12345678910", //your server id
"token":{
    "value":"insert your bot token here", //your bot token
    "fromENV":false //load your token from the ENV
},
"adminRoles":["role id 1","role id 2"], //the role ids from your admin team (splitted by comma's)
"prefix":"!ticket ", //the prefix for text-based commands (does not apply to slash commands)
"languageFile":"english", //select one of the available languages (visit the ./language/ folder)

"status":{
    "enabled":true, //enable the bot status
    "type":"PLAYING", //the status type: PLAYING, WATCHING, LISTENING or CUSTOM
    "text":"!ticket help" //the status text
},
System Settings
The system settings are settings related to the entire system. Here you can configure some message settings & limits for users.
"system":{
    "maxAmountOfTickets":3, //the maximum amount of tickets per user
    "dmMessages":false, //send a DM message to users when their ticket changes

    "memberRole":"member role (or empty)", //the role ID that doesn't have access to tickets!
    "closeMode":"adminonly OR normal (select one!)", //can everyone or admins close tickets?

    "transcripts":"...", //you can find everything about transcripts in transcriptconfig.json!

    "showSlashcmdsInHelp":false, //show slash commands in the help menu instead of the default prefix.
    "answerInEphemeralOnOpen":true //answer in ephemeral when you create a ticket (or it will be visible to everyone)
},
Option Settings (buttons)
The options are the variables that create the buttons in your ticket bot. Every button can be configured as much as you want!
There are 3 types: ticket, website & role. We are going to focus on the ticket type first! The other ones are less important buttons.
In the code block below, you can find an example of a ticket option! It is everything between the {...}.
There are also other types like website & role, but you can remove these if you don't need them!
Every option needs a unique ID. You can configure this in the "id":"..." variable! You will need this ID later to add the button to the embed!
To create multiple ticket options, you need to copy the entire part between & together with the curly brackets!
Then, you need to paste it after the original, but separate it with a comma!
Make sure that they don't have the same ID or the bot will error!
If you are ready with the options, you can move on to the Message Settings below for creating embeds!
"options":[
    {
        "id":"general", //the unique ID for each option
        "name":"Question", //the ticket name
        "description":"Create this ticket if you have a question.", //the ticket description
        "icon":"🎫", //the button emoji (leave empty if none)
        "label":"question", //the button label (leave empty if none)
        "type":"ticket", //the option type ("ticket" in this case!)

        "color":"gray", //the button color (gray, red, blue or green)
        "adminroles":["role id"], //the role ids from your admin team but for this ticket only!
        "readonlyAdminroles":["role id"], //the role ids that can only read tickets!
        "channelprefix":"question-", //the channel prefix (example: "question-" => "#question-username")
        "category":"category id (or leave empty)", //the category for this ticket
        "message":"You created a ticket!", //the message sent to the user in DM on ticket creation
        "enableDmOnOpen":true, //enable the DM message above
        "ticketmessage":"Our team will help you soon", //this will be the embed description in this ticket

        //add an embed thumbnail in this ticket
        "thumbnail":{
            "enable":false,
            "url":"https://www.example.com/catmemes/cat.png"
        },
        //add an embed image in this ticket
        "image":{
            "enable":false,
            "url":"https://www.example.com/catmemes/cat.png"
        },

        //the category to move to when this ticket gets closed
        "closedCategory":{
            "enable":false,
            "id":"category id"
        },

        //automatically close this ticket after ...h of inactivity
        "autoclose":{
            "enable":false,
            "inactiveHours":24
        },

        //who do you want to ping when this ticket is created
        "ping":{
            "@here":true,
            "@everyone":false,
            "custom":{
                "enable":false,
                "roleId":"012345678910"
            }
        }

    }
],
Message Settings (embeds)
The messages are the variables that create the embeds in your ticket bot.
Every embed can be configured as much as you want!
The embed can be spawned in discord with the /message <id> command.
To add a button/option to the embed, you need to add the button id to the "options":[...] list inside the message!
The multiple options are splitted by a comma in the list!
Every message needs a unique ID. You can configure this in the "id":"..." variable! You will need this for the /message <id> command!
To create multiple messages, you need to copy the entire part between & together with the curly brackets! Then, you need to paste it after the original, but separate it with a comma! Make sure that they don't have the same ID or the bot will error!
If you are ready with the messages, you can move on to Testing!
"messages":[
    {
        "id":"1", //the unique ID for each embed/message
        "name":"Choose Your Ticket", //the embed title
        "description":"You can click one of the buttons below!", //the embed description
        "dropdown":false, //create a dropdown instead of buttons

        //add a footer to the embed
        "enableFooter":false,
        "footer":"Open Ticket v3.4.4 - I'm a footer!",

        //add a footer image to the embed
        "enableFooterImage":false,
        "footerImage":"https://www.example.com/catmemes/cat.png",

        //add a thumbnail to the embed
        "enableThumbnail":false,
        "thumbnail":"https://www.example.com/catmemes/cat.png",

        //add an image to the embed
        "enableImage":false,
        "image":"https://www.example.com/catmemes/cat.png",

        //set a custom color for this embed only
        "enableCustomColor":false,
        "color":"#ffffff",

        //add the option ids here to show them below the embed!
        "options":["general","apply"],

        "other":{
            "enableTicketExplanation":true, //enable the default ticket explanation
            "enableMaxTicketsWarning":true, //enable the maximum amount of tickets warning

            //set a custom dropdown placeholder
            "customDropdownPlaceholder":{
                "enable":false,
                "text":"Choose a ticket"
            },

            //change the category text in the default ticket explanation
            "customCategoryText":{
                "enable":false,
                "text":"choose a category:"
            },

            //change the title of the embed into a URL
            "embedTitleURL":{
                "enable":false,
                "url":"https://www.dj-dj.be/projects/open-ticket"
            }
        }
    }
]
Testing
Now you've configured the bot, you can start it with one of the following commands:
npm start
node index.js
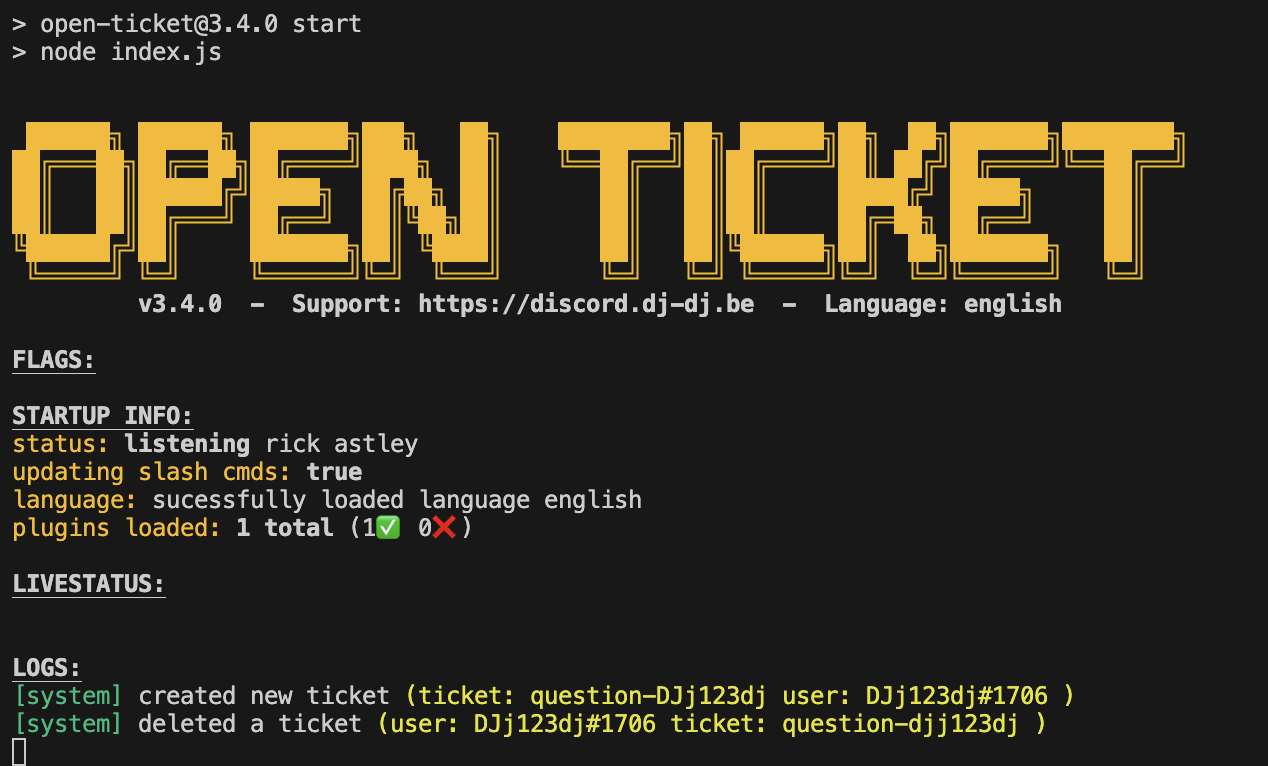
On Success
When you have configured your config.json correctly, you will see a startup screen with the Open Ticket logo displayed in yellow. It will also show some logs & statistics.
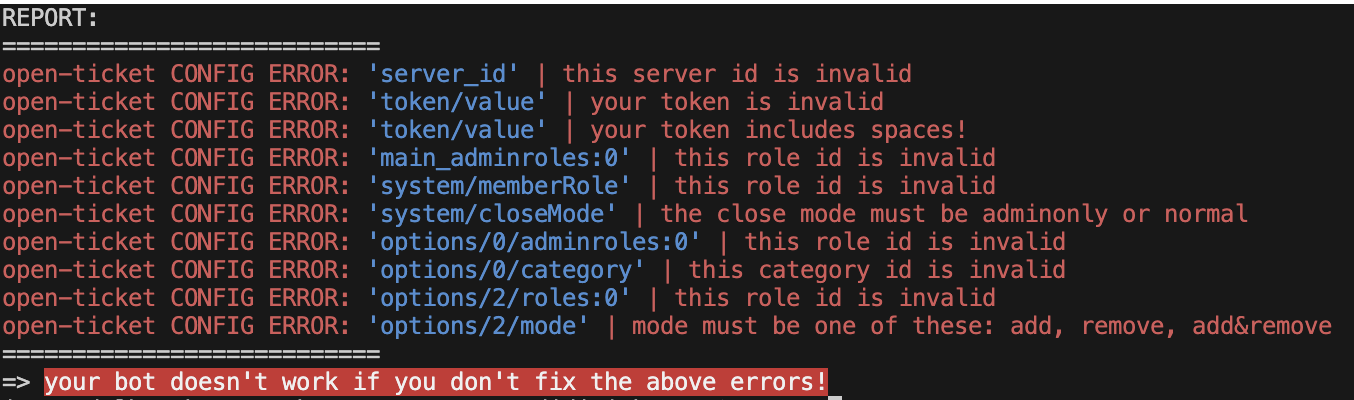
On Failiure
When you made a mistake, the bot will tell you what's wrong with your config. Try to follow the instructions from the errors as good as possible. When you don't find the solution, you can always join our discord server!
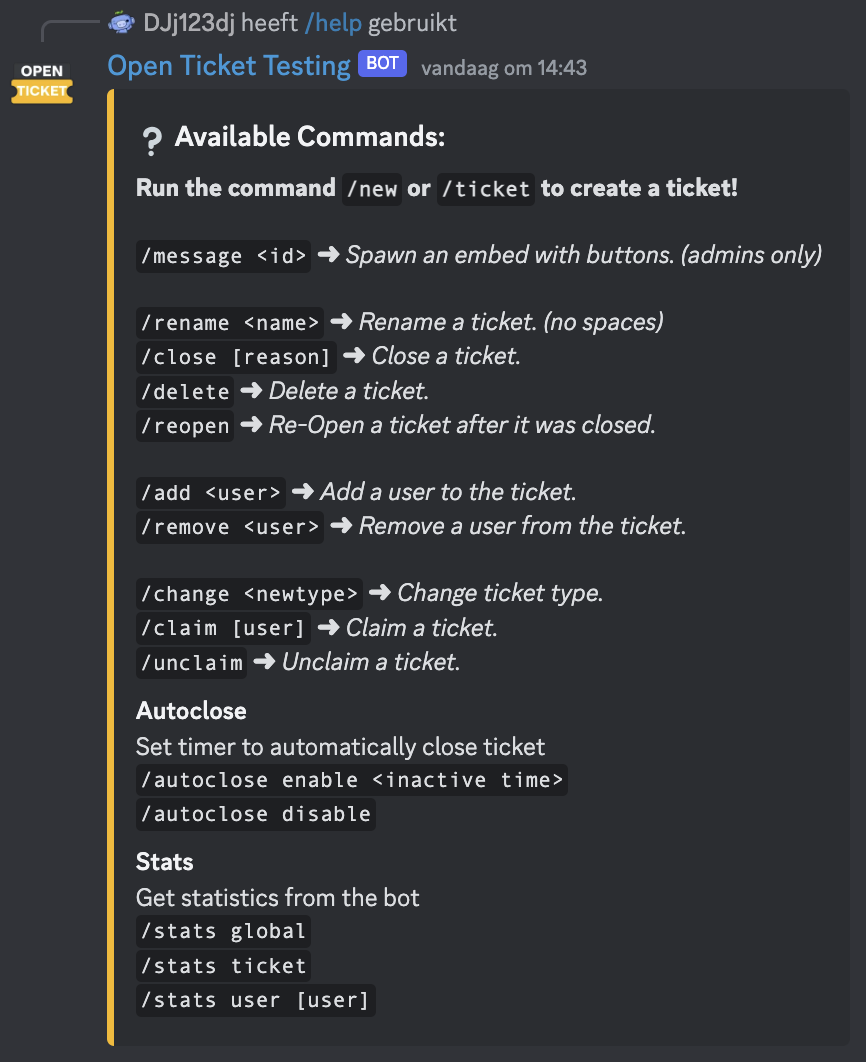
🎉 Now you can try out the bot!
Use the /help command for a guide of all available commands. Use the /message <id> command to generate an embed with buttons.
Advanced Guides
Also make sure to check out these advanced guides! This way, you can get even more out of Open Ticket!