📄 Simple Config File
Welcome! In this guide, we will walk through the process of creating a small config file for your Open Ticket plugin.
By the end of this article, you will know how to create a simple, but effective JSON configuration for your plugin. It will also contain a config checker to make sure the user doesn't insert something wrong. If you haven't already created a config before, don't worry. It will be explained in this article.
Framework Article
Basic Plugins - Simple Config File
📌 Prerequisites
Before we start, ensure that you have the following:
- You've read the 🏁 Getting Started guide.
- You have a working or empty plugin which you can use for this guide.
⚙️ The Config
By the end of this tutorial, we will have a fully structured config file that follows Open Ticket's best practices. It will be properly formatted, validated, and ready for use within your plugin.
Create a file called config.json inside ./plugins/example-plugin/ and add the following contents:
{
    "simpleString":"Hi there! I'm a string",
    "simpleBoolean":false,
    "simpleNumber":10,

    "complexString":"Hi there! I'm a string",
    "nonNegativeNumber":-5,  //this should give an error
    "nonDecimalNumber":0.2, //this should give an error

    "channelIdList":["discord channel id 1","discord channel id 2"],
    "chooseBetween":"Option1 OR Option2 OR Option3 OR Option4",
}
Ofcourse this isn't very useful. This is because we will just learn you the basics. When you really want to create your own plugin, you'll have to create your own variable names with their requirements.
👀 Config Checker (Optional)
We will also make sure the config is compatible with the Open Ticket Config Checker system. It's a built-in checker made to scan all config files for errors. While it might seem complex at first, you'll find it becomes logical and intuitive after just a few minutes of practice.
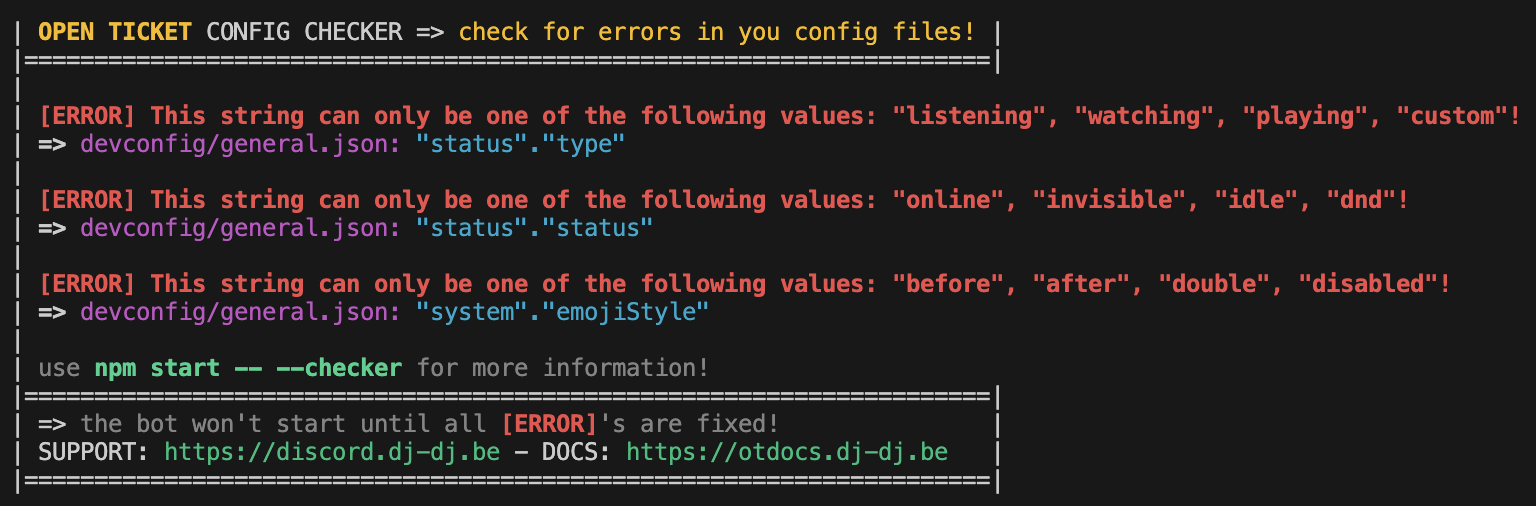 An example of the Open Ticket config checker.
📝 Writing Code (Step by Step)
Now that we have defined our config.json file, we need to register it inside our plugin. This allows Open Ticket to recognize and use the config file.
1️⃣ Registering The Config
To register our config, we must listen for the onConfigLoad event. This ensures that Open Ticket loads the configuration file at the correct moment.
Open your existing index.ts file and add the following code:
//Additional TypeScript autocomplete support (optional)
//Please add this inside the existing < declare module "#opendiscord-types" {...} >
declare module "#opendiscord-types" {
    export interface ODConfigManagerIds_Default {
        "example-plugin:config": api.ODJsonConfig
    }
}

//Register the config file
opendiscord.events.get("onConfigLoad").listen(() => {
    opendiscord.configs.add(new api.ODJsonConfig("example-plugin:config", "config.json", "./plugins/example-plugin/"))
})
🔍 What does this code do?
- It registers the config file
config.json, stored in./plugins/example-plugin/. - Now, the bot, other plugins & our plugin can retrieve and modify this config file.
- The config is accessible from anywhere in the bot using the id
example-plugin:config. opendiscord.configsis the global manager responsible for all config files in the bot.
Now that we have a config file, we need to validate it using Open Ticket’s built-in Config Checker. This prevents users from entering incorrect or invalid data.
Now it's your turn! Try to change some properties of your config file.
Exercises
- 🟢 Change the name of your config file to
settings.json. - 🟠 Move your config to another location (e.g.
./testfolder/). - 🔴 Create a second config file and register it with a separate ID.
✅ Validating The Config
To register a checker or validator for our config, we need to listen for the onCheckerLoad event.
Add the following code below the onConfigLoad event inside index.ts:
//Additional TypeScript autocomplete support (optional)
//Please add this inside the existing <C declare module "#opendiscord-types" {...} >
declare module "#opendiscord-types" {
    export interface ODCheckerManagerIds_Default {
        "example-plugin:config":api.ODChecker
    }
}

//Register the config checker
opendiscord.events.get("onCheckerLoad").listen(() => {
    //Get our registered config from the manager.
    const config = opendiscord.configs.get("example-plugin:config")

    //Create a defined structure of our config file.
    const structure = new api.ODCheckerObjectStructure("example-plugin:config",{children:[
        {key:"simpleString",optional:false,priority:0,checker:new api.ODCheckerStringStructure("example-plugin:simple-string",{})},
        {key:"simpleBoolean",optional:false,priority:0,checker:new api.ODCheckerBooleanStructure("example-plugin:simple-boolean",{})},
        {key:"simpleNumber",optional:false,priority:0,checker:new api.ODCheckerNumberStructure("example-plugin:simple-number",{})},

        {key:"complexString",optional:false,priority:0,checker:new api.ODCheckerStringStructure("example-plugin:complex-string",{minLength:3,maxLength:5,startsWith:"Hi there!"})},
        {key:"nonNegativeNumber",optional:false,priority:0,checker:new api.ODCheckerNumberStructure("example-plugin:non-negative-number",{negativeAllowed:false})},
        {key:"nonDecimalNumber",optional:false,priority:0,checker:new api.ODCheckerNumberStructure("example-plugin:non-decimal-number",{floatAllowed:false})},

        {key:"channelIdList",optional:false,priority:0,checker:new api.ODCheckerCustomStructure_DiscordIdArray("example-plugin:channel-id-list","channel",[],{})},
        {key:"chooseBetween",optional:false,priority:0,checker:new api.ODCheckerStringStructure("example-plugin:choose-between",{choices:["Option1","Option2","Option3","Option4"]})},
    ]})

    //And finally we will register it to the Open Ticket checker manager.
    opendiscord.checkers.add(new api.ODChecker("example-plugin:config",opendiscord.checkers.storage,0,config,structure))
})
🔍 Understanding the Checker
Each property in our config file is validated by a checker:
| Property | Type | Description |
|---|---|---|
simpleString | String | Any string value |
simpleBoolean | Boolean | Can be true or false |
simpleNumber | Number | Any number |
complexString | String | Must start with "Hi there!" and have between 3-5 characters |
nonNegativeNumber | Number | Must be 0 or higher (no negative numbers) |
nonDecimalNumber | Number | Must be a whole number (no decimals allowed) |
channelIdList | Array | Must contain valid Discord channel IDs |
chooseBetween | String | Must be one of "Option1", "Option2", "Option3", or "Option4" |
😃 What happens now?
- If the user misses a required value → an error is thrown.
- If a value doesn’t meet the requirements (e.g. a negative number in
nonNegativeNumber) → an error is thrown. - The bot will automatically detect issues and guide users to fix them.
- When an error is thrown, the bot won't start.
Now that you know the basics of the config checker, try to add your own requirements by changing the code a little bit.
Exercises
- 🟢 Make
simpleStringend withHello World!. - 🟠 Make
nonNegativeNumbernot allow0and not be higher than15. - 🔴 Check
chooseBetweenwith aRegExpinstead of thechoices.
🎉 Testing
Once you've added the config checker, restart Open Ticket.
If you intentionally add incorrect values to config.json, you should see error messages from the checker system.
Try setting:
"nonNegativeNumber": -5
This should fail and show an error like: [ERROR] This number can't be negative!
This means the checker is working correctly!
🏆 Summary
Great job! 🎉 You have successfully:
- ✅ Created a simple config file for your plugin.
- ✅ Registered the config in Open Ticket.
- ✅ Added a Config Checker to prevent invalid values.
Now, you're ready to build more complex configurations and customize your plugins! 🚀